
Beginner's Beekeeping Guide for Homesteaders
Standing in the vegetable garden on a warm June morning, watching bees move methodically from courgette flower to courgette flower, there is something deeply satisfying about that quiet hum. It becomes the soundtrack of summer on a homestead, a constant reminder that the land is alive and thriving. The moment you label your first jars of honey with your own farm name, you understand why beekeeping has been part of small-scale farming for centuries.
Bees are natural partners for any homestead with gardens and orchards. Even in harsh mountain climates with short summers and long winters, bees thrive with the right approach. You do not need to start big or expensive, and this guide covers everything from choosing hives to selling your products. Beekeeping connects you deeper to your land and its seasons in ways that few other homestead activities can match.
If you feel intimidated by the idea of keeping bees, know that many homesteaders started exactly where you are now. With patience, observation, and a willingness to learn, beekeeping becomes a rewarding part of the homestead ecosystem that supports your gardens, provides valuable products, and offers meaningful connection to the natural world.
I. Why Bees Belong on a Homestead
Keeping bees has so many benefits! Not only for your homestead, but also for the environment. Some would say, a homestead without bees isn’t a homestead…
1. The Pollination Partnership
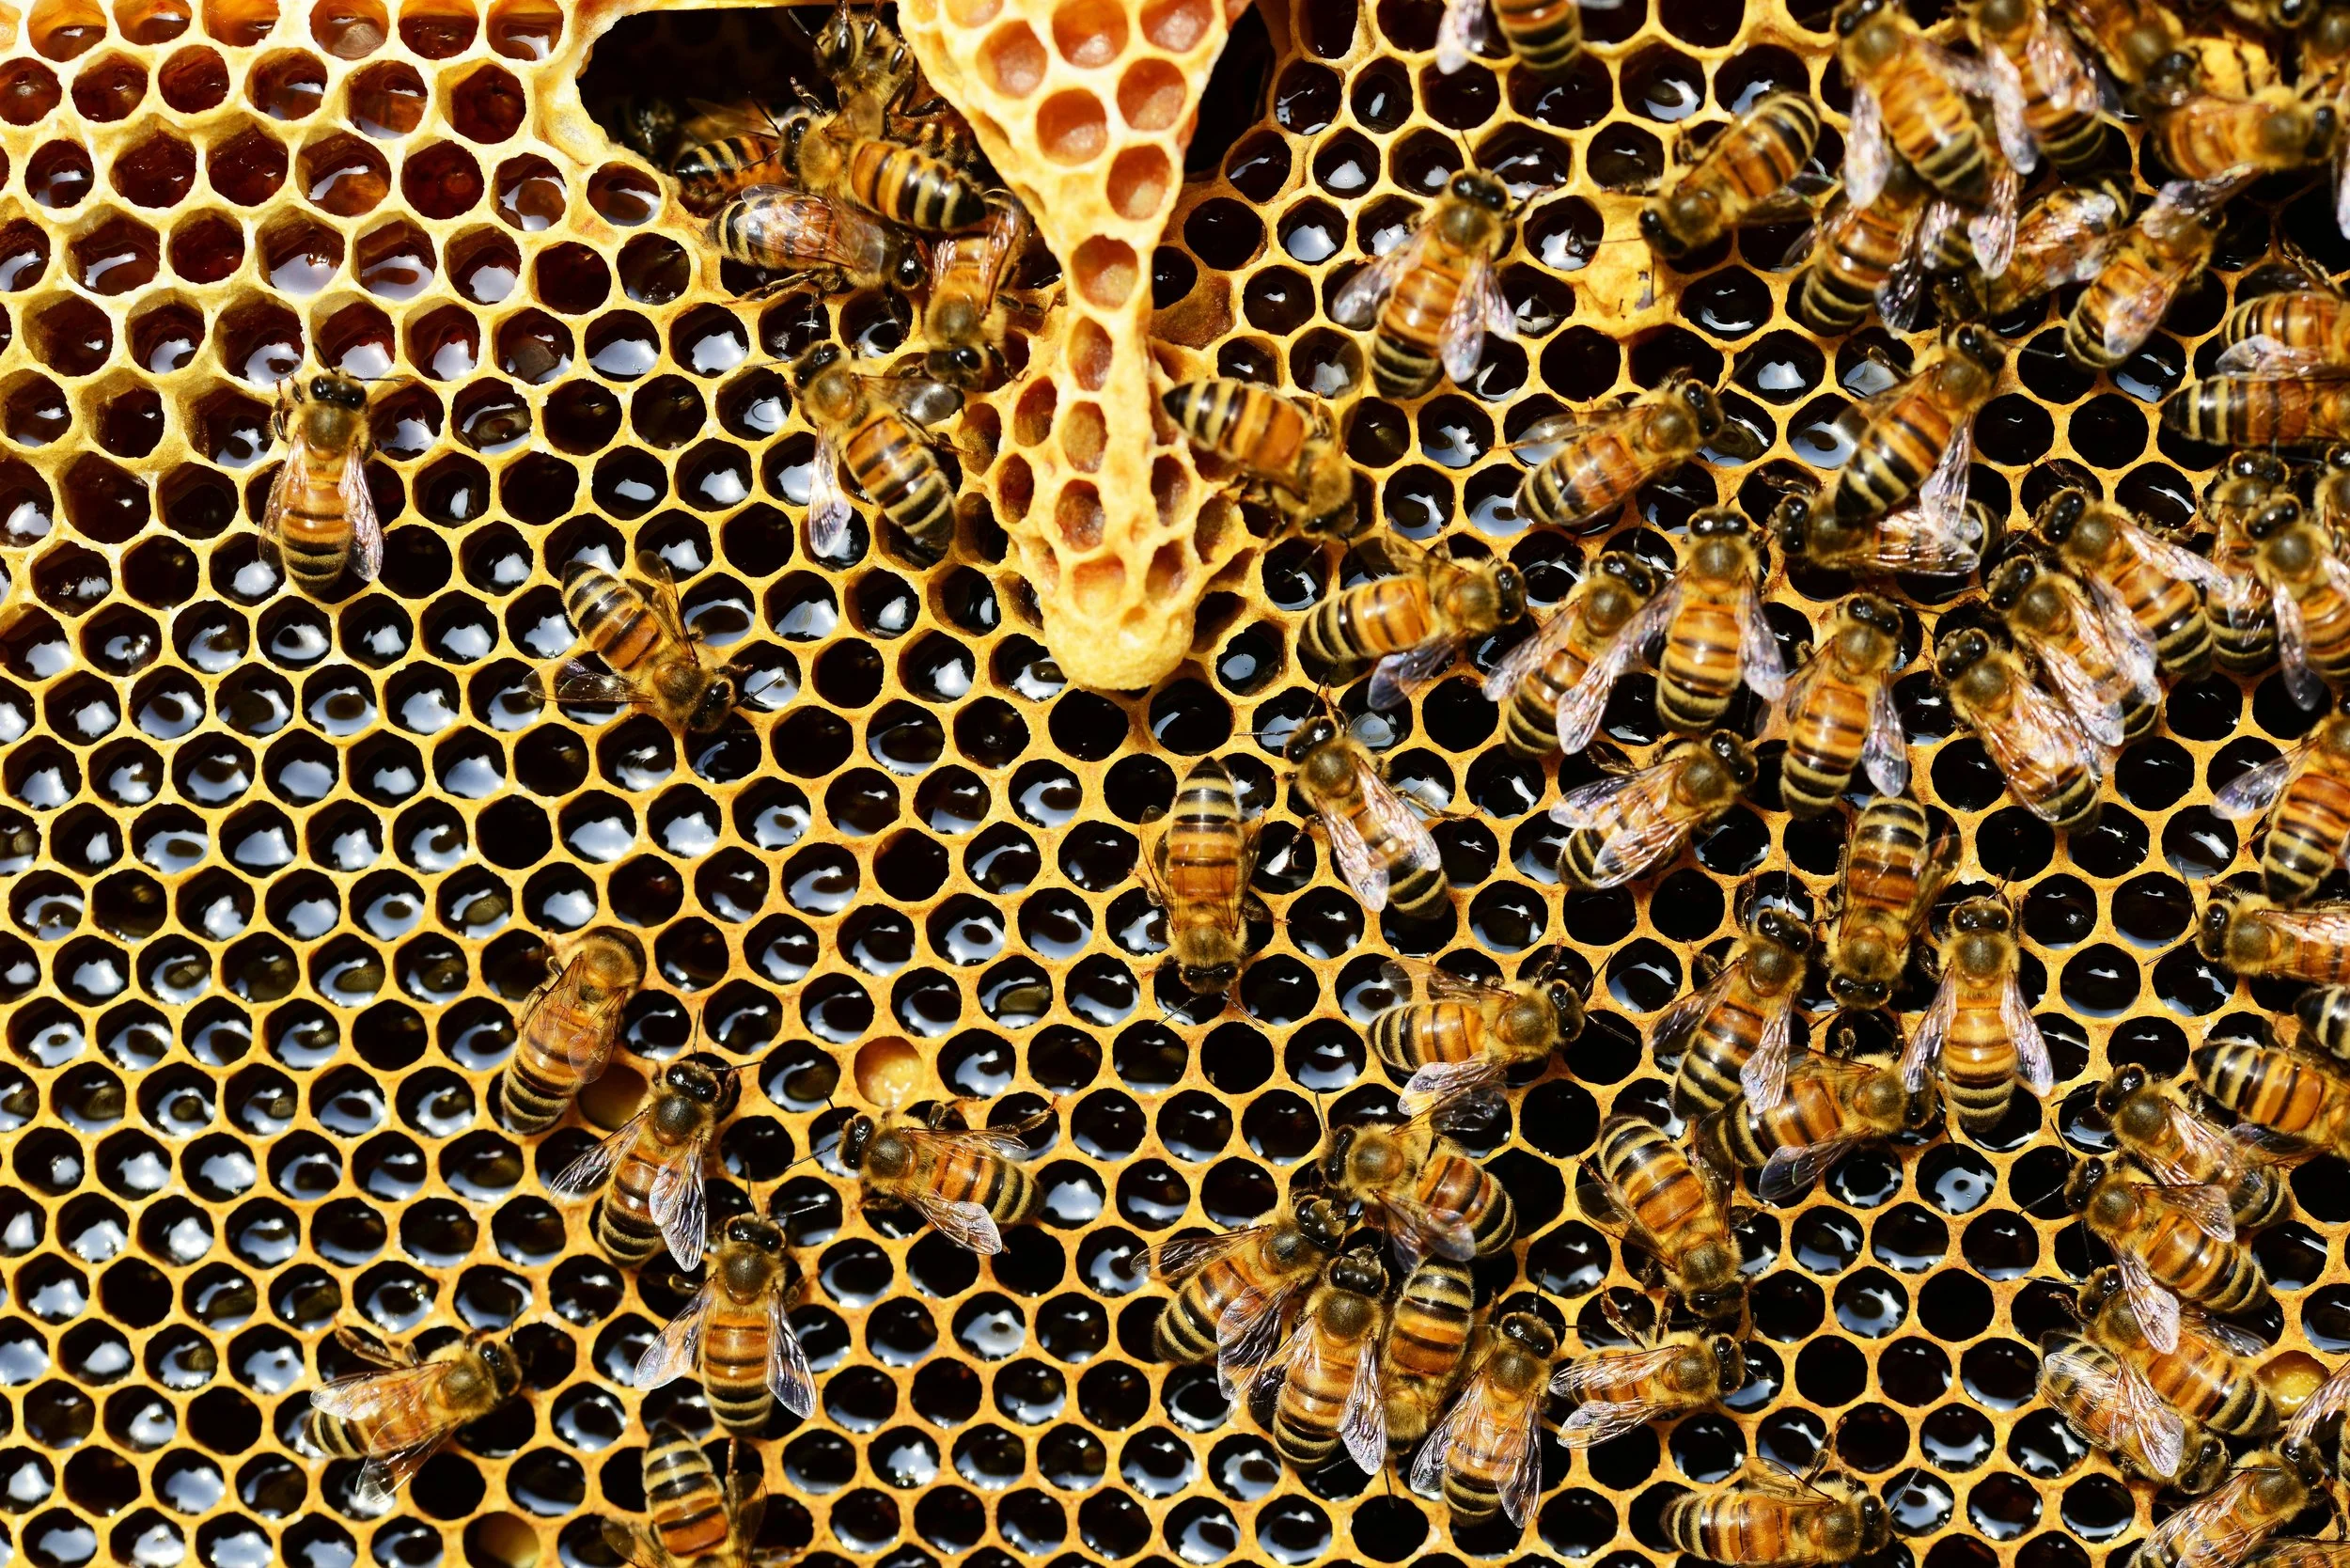
The transformation in vegetable yields once bees arrive on a homestead can be remarkable. Fruit trees that previously produced sparse harvests suddenly hang heavy with apples and plums. Berry bushes become more productive, and squash plants set fruit reliably where they once struggled. A healthy bee population directly supports food security on your homestead, providing consistent harvests rather than hoping for the best.
2. Closing the Loop – Bees in the Homestead Ecosystem
Bees fit naturally with existing gardens, orchards, and wildflower meadows. They integrate well with livestock areas, working alongside chicken runs and grazing spaces without conflict. The homestead functions as an interconnected system where each element supports the others, and bees play their part by pollinating while benefiting from the diverse forage your land provides. Healthy bee colonies also serve as indicator species for overall land health.
3. Products for Home Use
Your own honey can replace shop-bought sweeteners entirely, working beautifully in baking, cooking, fermenting, and preserving. The flavour difference between raw, local honey and commercial alternatives is striking, with subtle notes reflecting the flowers your bees have visited throughout the season. Beeswax provides homemade candles for those long winter evenings, wraps that replace plastic in your kitchen, and natural wood and leather treatments for tools and furniture around the homestead.
Propolis, the sticky substance bees make from tree resins, creates excellent immune-support tinctures. This is often the forgotten harvest that most beginners overlook, yet it can be valuable both for home use and potential sale. Combining beeswax and honey with garden herbs opens possibilities for healing salves and skincare products, creating gifts from your own land that replace expensive shop-bought alternatives.
4. Income Potential – A Realistic Picture
Small-scale beekeeping offers meaningful supplemental income, though expectations should remain realistic. Honey sales at local markets and to neighbours provide steady returns, while value-added products like candles and balms increase earnings per hive. Most beekeepers break even on their initial investment within two to three years. This is not a get-rich scheme, but rather a rewarding addition to diversified homestead income.
II. Choosing the Right Hive for Cold Climates
Before you go shopping for your bees, you need to do a lot of research. Because beekeeping is very different in regards to climate, environment, and usage.
1. Choose the Right Hive for Your Climate
Mountain weather significantly affects beekeeping decisions. Short summers mean concentrated nectar flows that must be captured efficiently, while long winters require proper insulation and adequate food stores to see colonies through. The wrong hive choice in a harsh climate can mean lost colonies and wasted effort, making this decision one of the most important you will make as a beginning beekeeper.
2. Common Hive Types
The Langstroth is the most common hive type worldwide, offering standardised parts that are easy to find and good potential for honey production. However, it requires more frequent intervention and the boxes can be heavy to manage, particularly when full of honey. For cold climates, additional insulation is often needed. Top-bar hives offer a horizontal design with more natural comb building and low construction costs, but poor insulation makes them challenging for harsh winters and generally not ideal for cold mountain conditions.
The Warré hive was designed specifically for bee-friendly, minimal intervention beekeeping. Its vertical design mimics natural tree cavities where wild bees often nest, and it offers excellent winter survival in cold climates. For busy homesteaders who want healthy bees without constant manipulation, the Warré presents an attractive option that suits both the bees and the beekeeper.
3. The Warré Hive: A Closer Look
Unlike conventional hives where boxes are added on top, Warré hives are nadired, meaning new boxes are added from below. This allows bees to build downward naturally, as they would in a wild cavity, causing less disruption to the colony. The smaller box size retains heat more efficiently than larger designs. The quilt box, a distinctive feature, provides natural moisture control and insulation at the top of the hive. Bees build their own comb with natural cell sizes, and the design requires fewer inspections, typically harvesting only once per year. This fits well with observation-based homesteading philosophy where you spend more time watching and understanding rather than constantly manipulating.
4. Building Versus Buying Your Hive
DIY options using reclaimed wood and simple tools can significantly reduce costs. Plans for Warré hives are available free online, and woodworking skills developed through other homestead projects transfer directly to hive construction. When buying secondhand, check carefully for signs of disease. Building your own remains the most budget-friendly approach.
III. Essential Equipment – Starting Simple
When you start your beekeeping adventure, you will need a few things. But don’t buy everything you see in a beekeeper’s catalogue. Usually, you only need a few things - and you can get them second-hand:
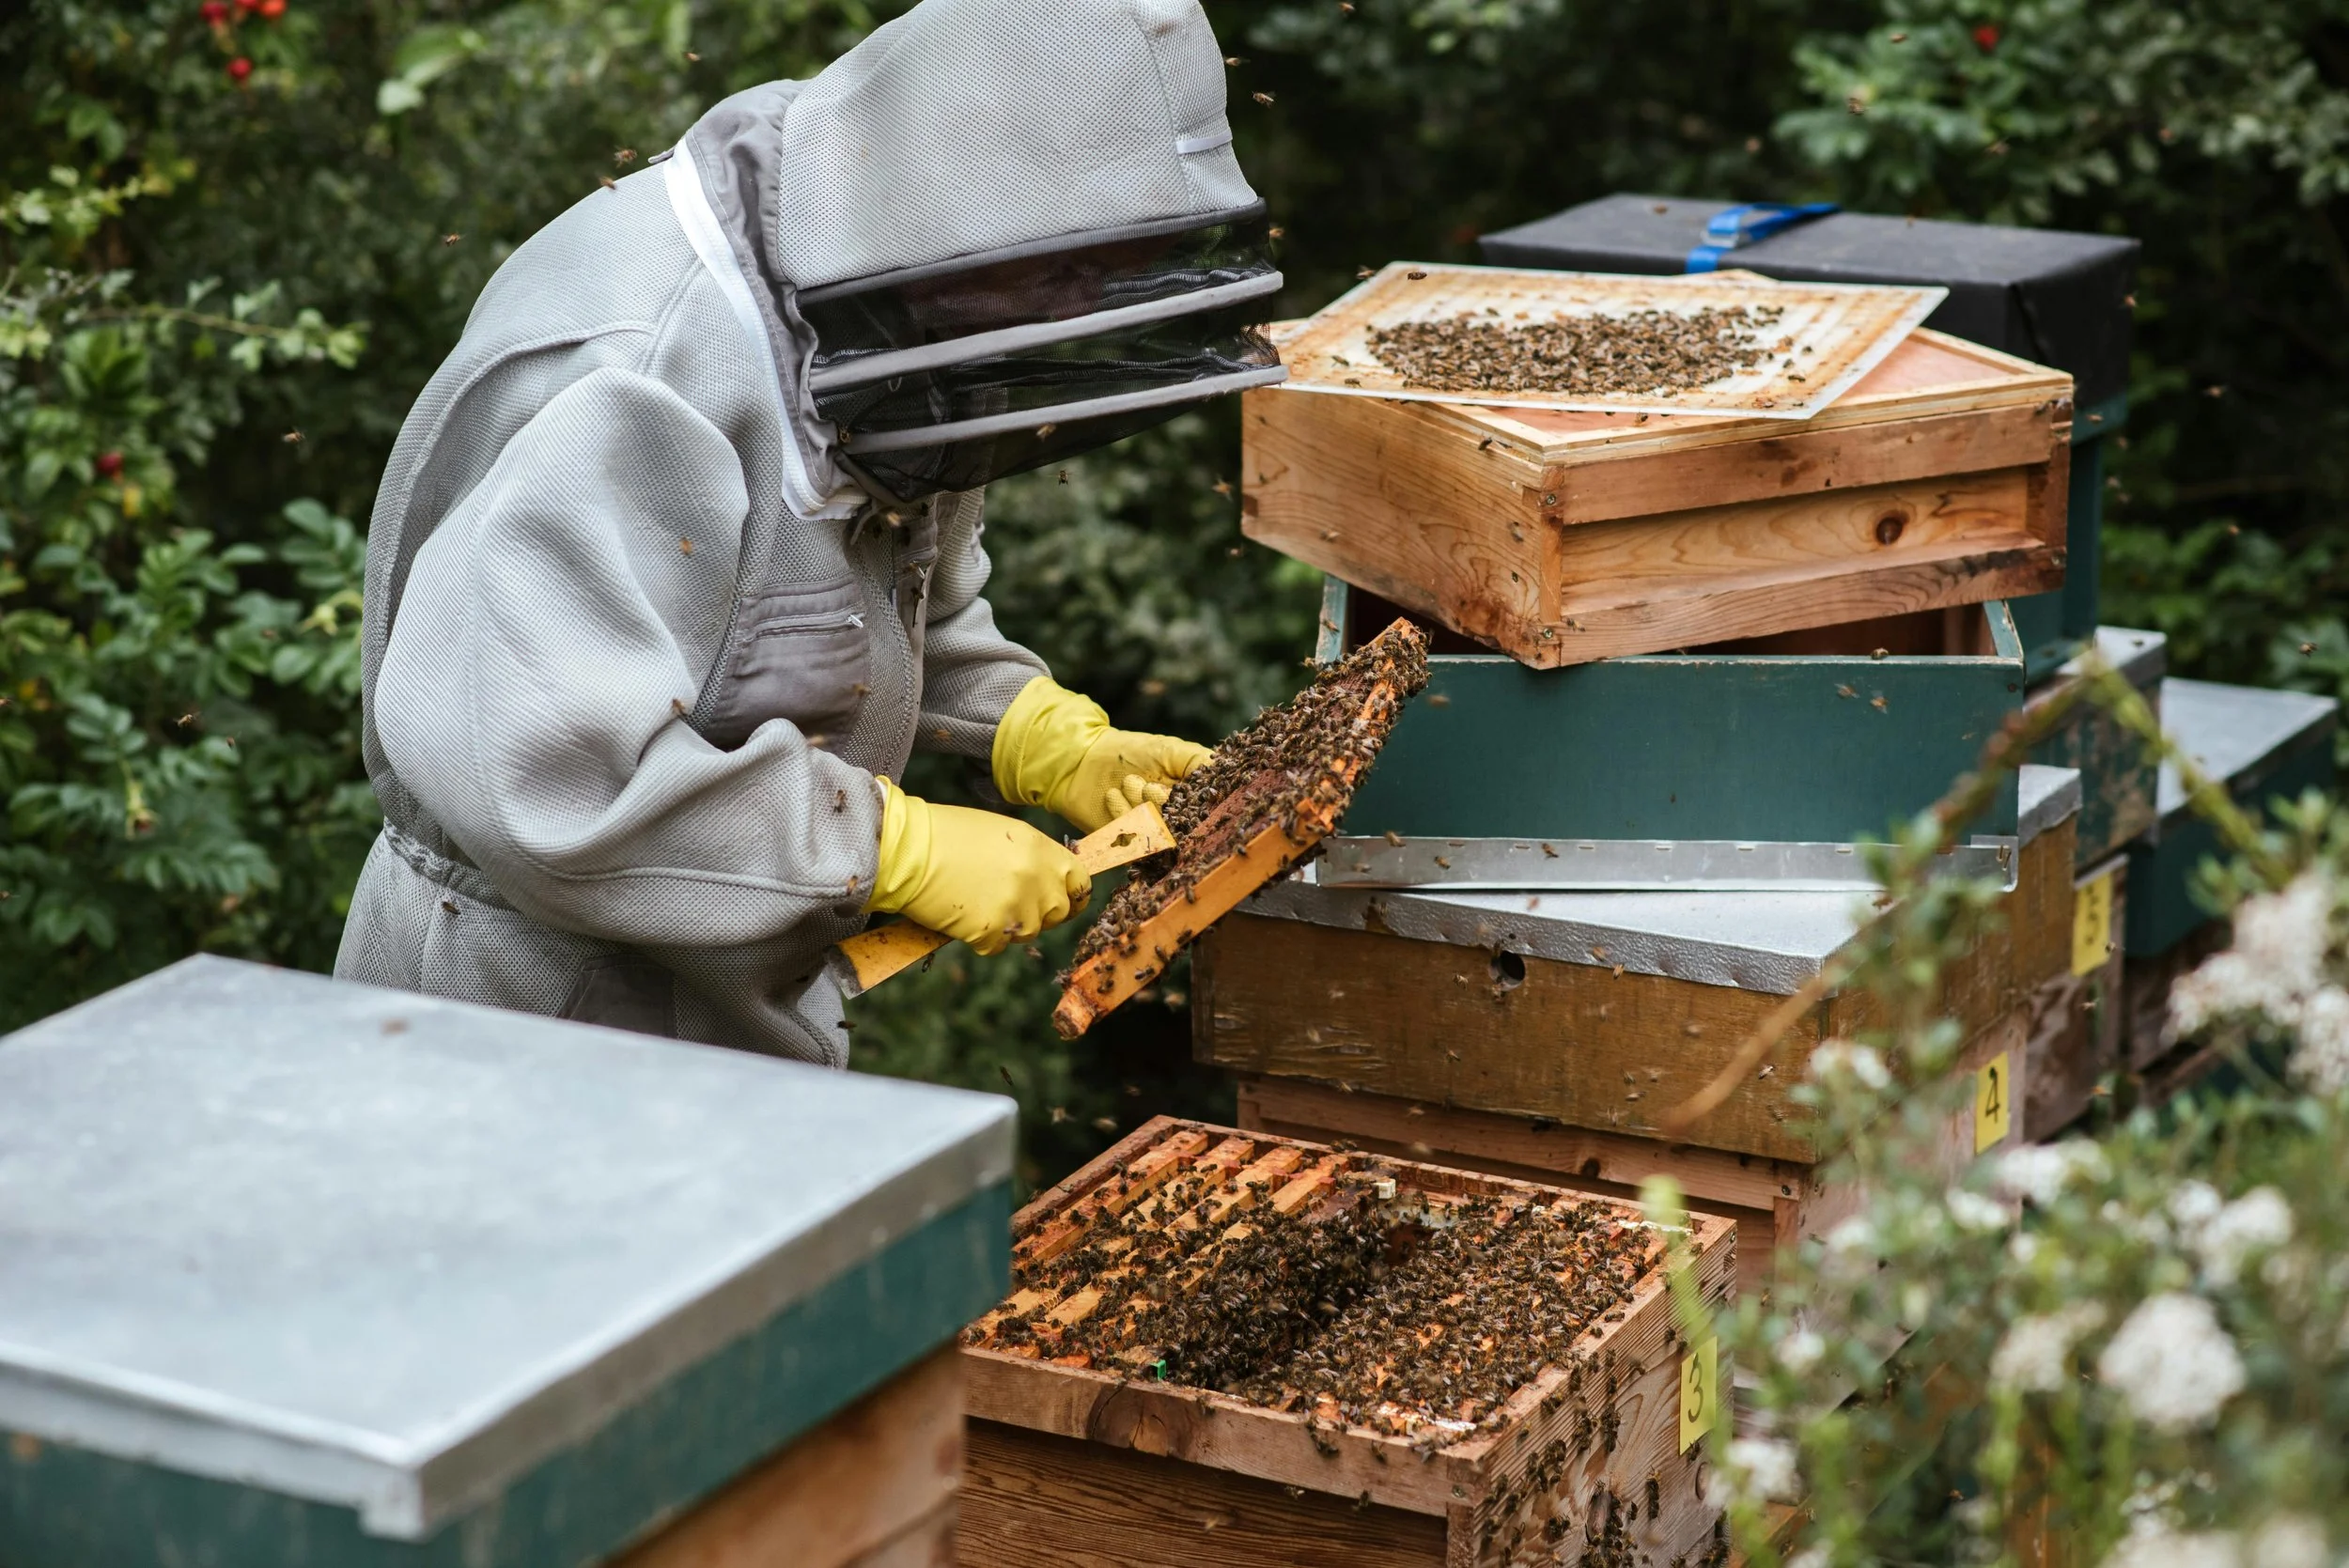
1. Protective Gear
A veil is essential for protecting your face, but a full suit is optional, particularly as you gain confidence. A jacket with attached veil offers a good middle ground. For gloves, options range from thick leather to thin nitrile or bare hands as experience grows. Light-coloured, smooth fabric clothing works well as an alternative to purchasing expensive suits.
2. Basic Tools
A smoker is essential for calm inspections, helping to mask alarm pheromones and settle the bees. A hive tool is indispensable for prying, scraping, and separating frames. A bee brush gently moves bees out of the way, though a large feather works just as well. Fuel for your smoker can be free, using dried herbs, pine needles, or wood shavings from around the homestead.
3. Harvesting and Processing Equipment
The crush and strain method works perfectly for Warré hives and small-scale operations, requiring minimal equipment. Food-grade buckets fitted with honey gates allow easy bottling, while fine mesh straining bags separate honey from wax. For processing wax, a simple solar melter built from an old window costs nothing and works efficiently. These low-tech options produce excellent results.
4. What You Can Skip as a Beginner
Expensive extractors are unnecessary for crush and strain methods. Electric uncapping knives and fancy bottling equipment can wait until your operation grows. The wisest approach is to see what you actually need after your first season before making additional purchases.
IV. Bee Hive Placement and Setup on Your Homestead
It matters where your bees have their home. If the placement isn’t right, you risk to lose your swarm.
1. Choosing the Right Spot
Morning sun is essential for warming the hive early and encouraging bees to start foraging. Wind protection from buildings, hedges, or forest edges helps colonies maintain temperature. Position the flight path away from regular walking paths and neighbours. A water source within fifty metres saves bees energy, or you can provide one yourself. Consider access in all seasons, particularly winter snow conditions.
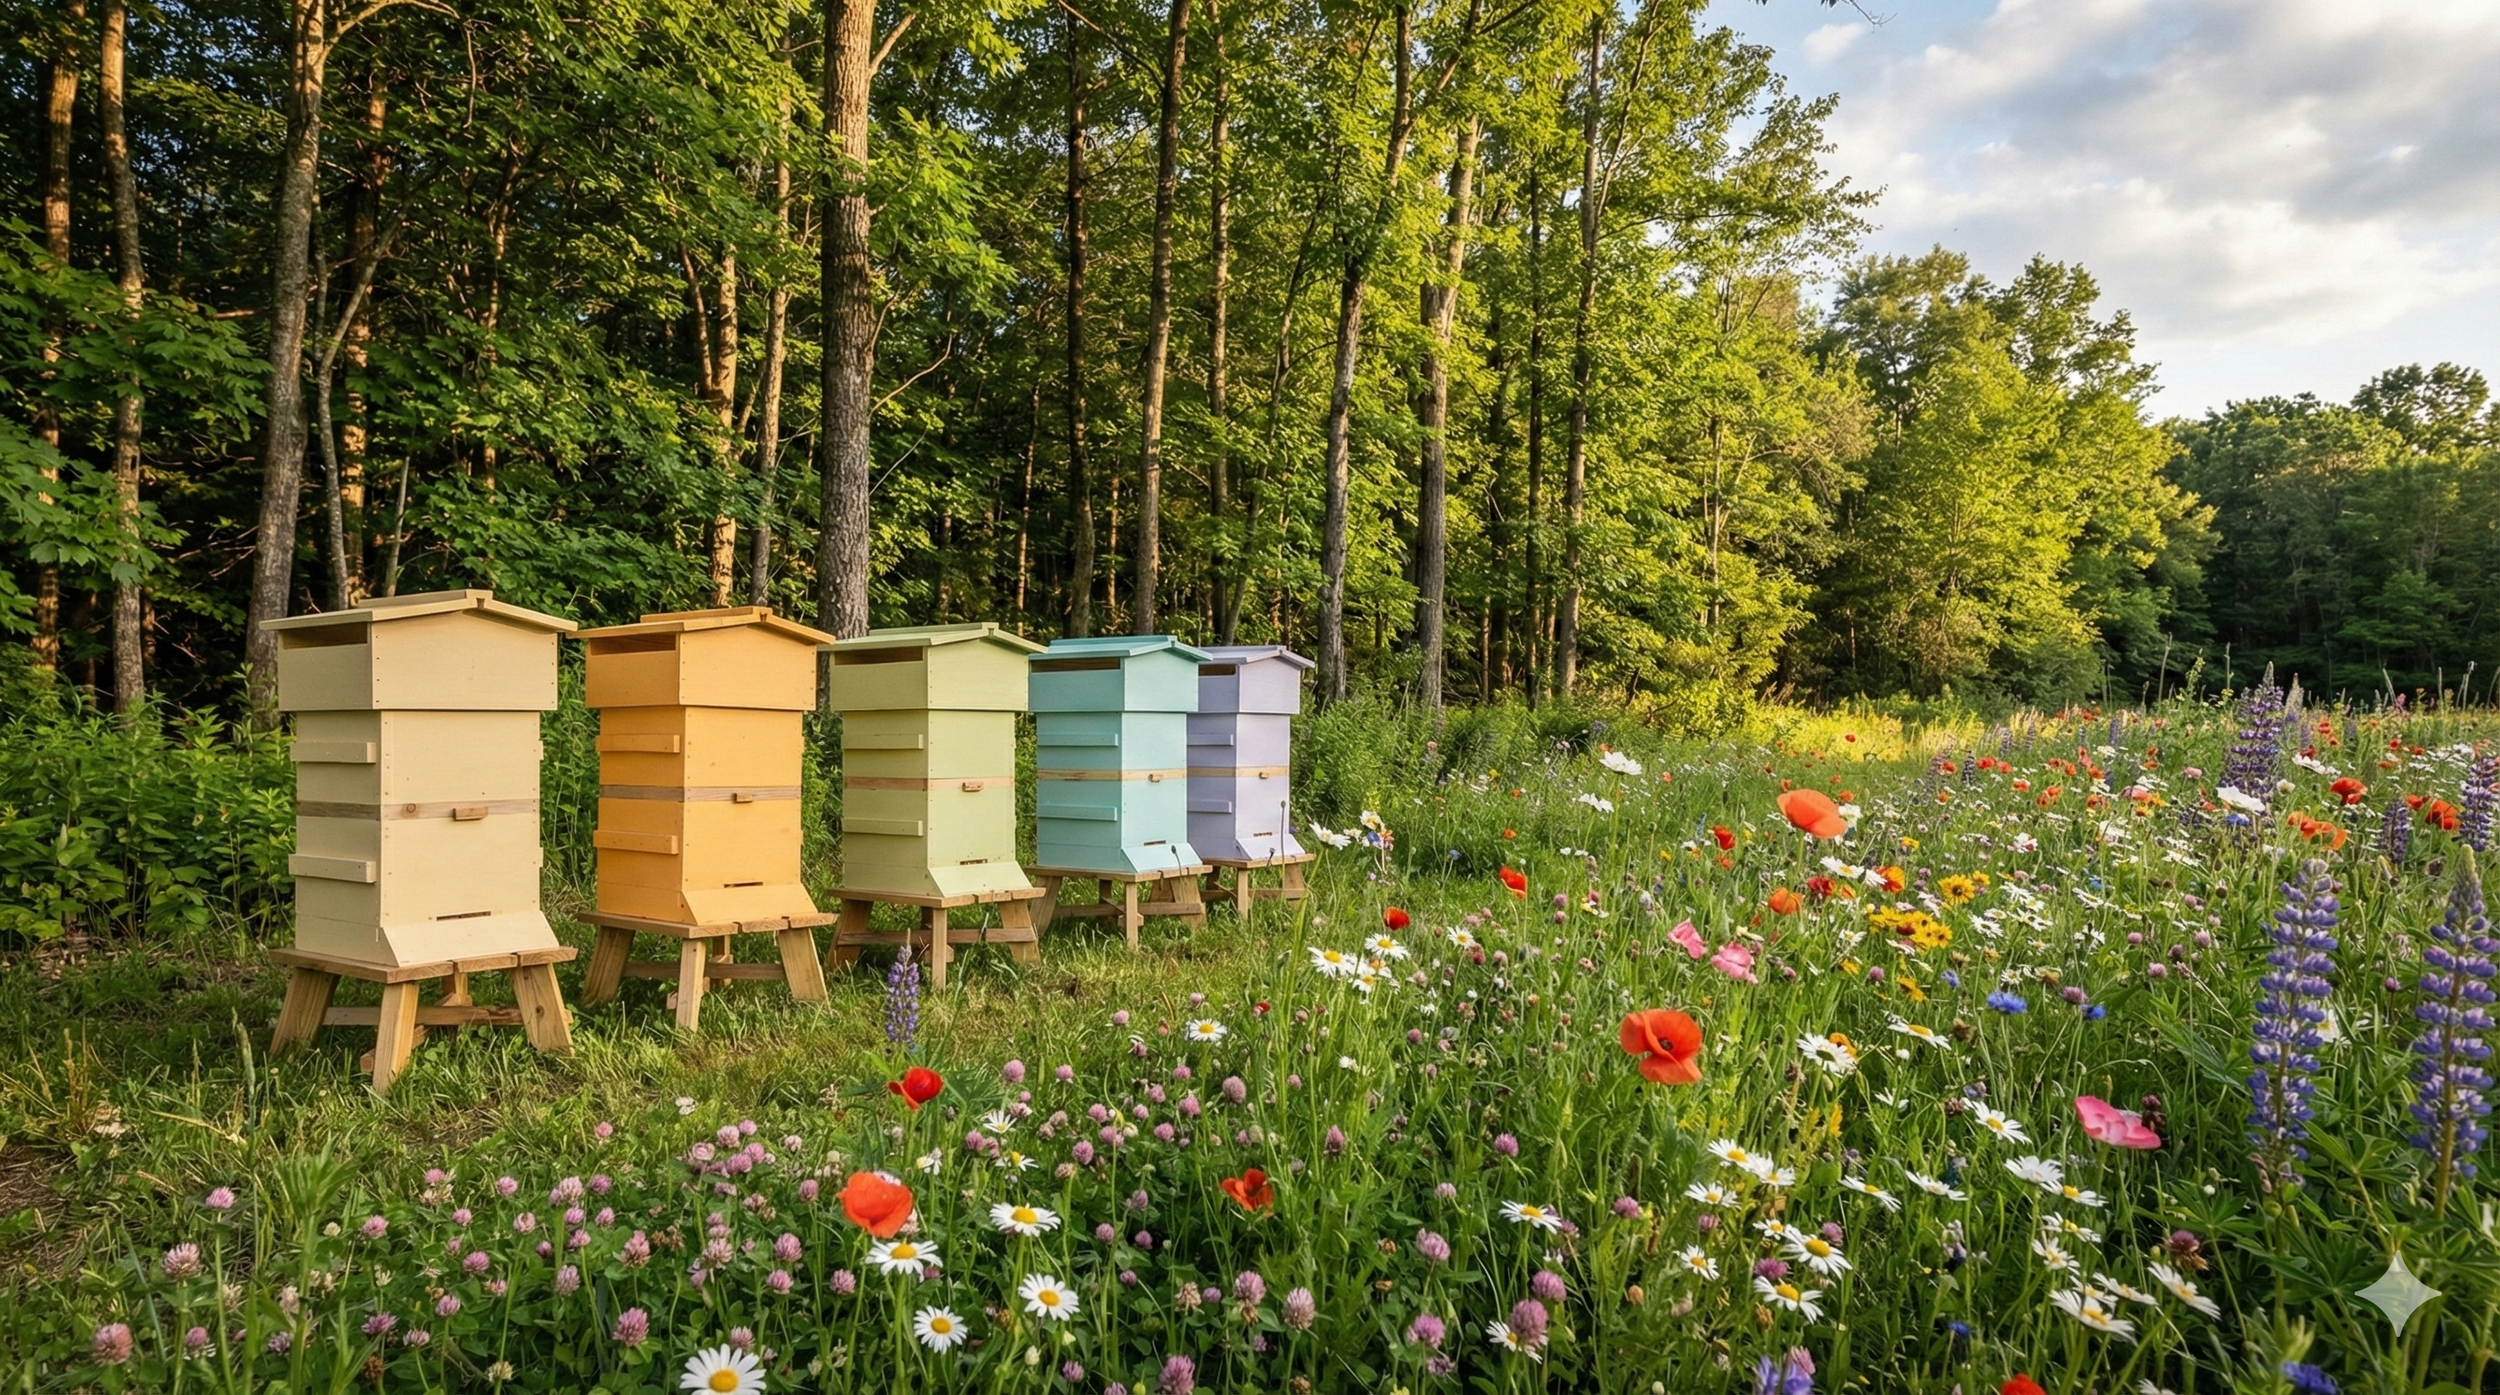
2. Creating Bee-Friendly Surroundings
Existing gardens and meadows likely already support bees well. Plant for extended forage from early spring through late autumn, focusing on native plants and wildflowers that thrive in your conditions. Avoid pesticides entirely on your homestead. Fruit trees, berry bushes, and herb gardens all serve as valuable bee resources throughout the season.
3. Preparing for Your First Bees
Your hive should be ready and positioned before bees arrive. A hive stand keeps the hive off damp ground and helps deter mice. Have an entrance reducer ready for new colonies and a feeder available in case of poor weather. Check everything twice before collection day.
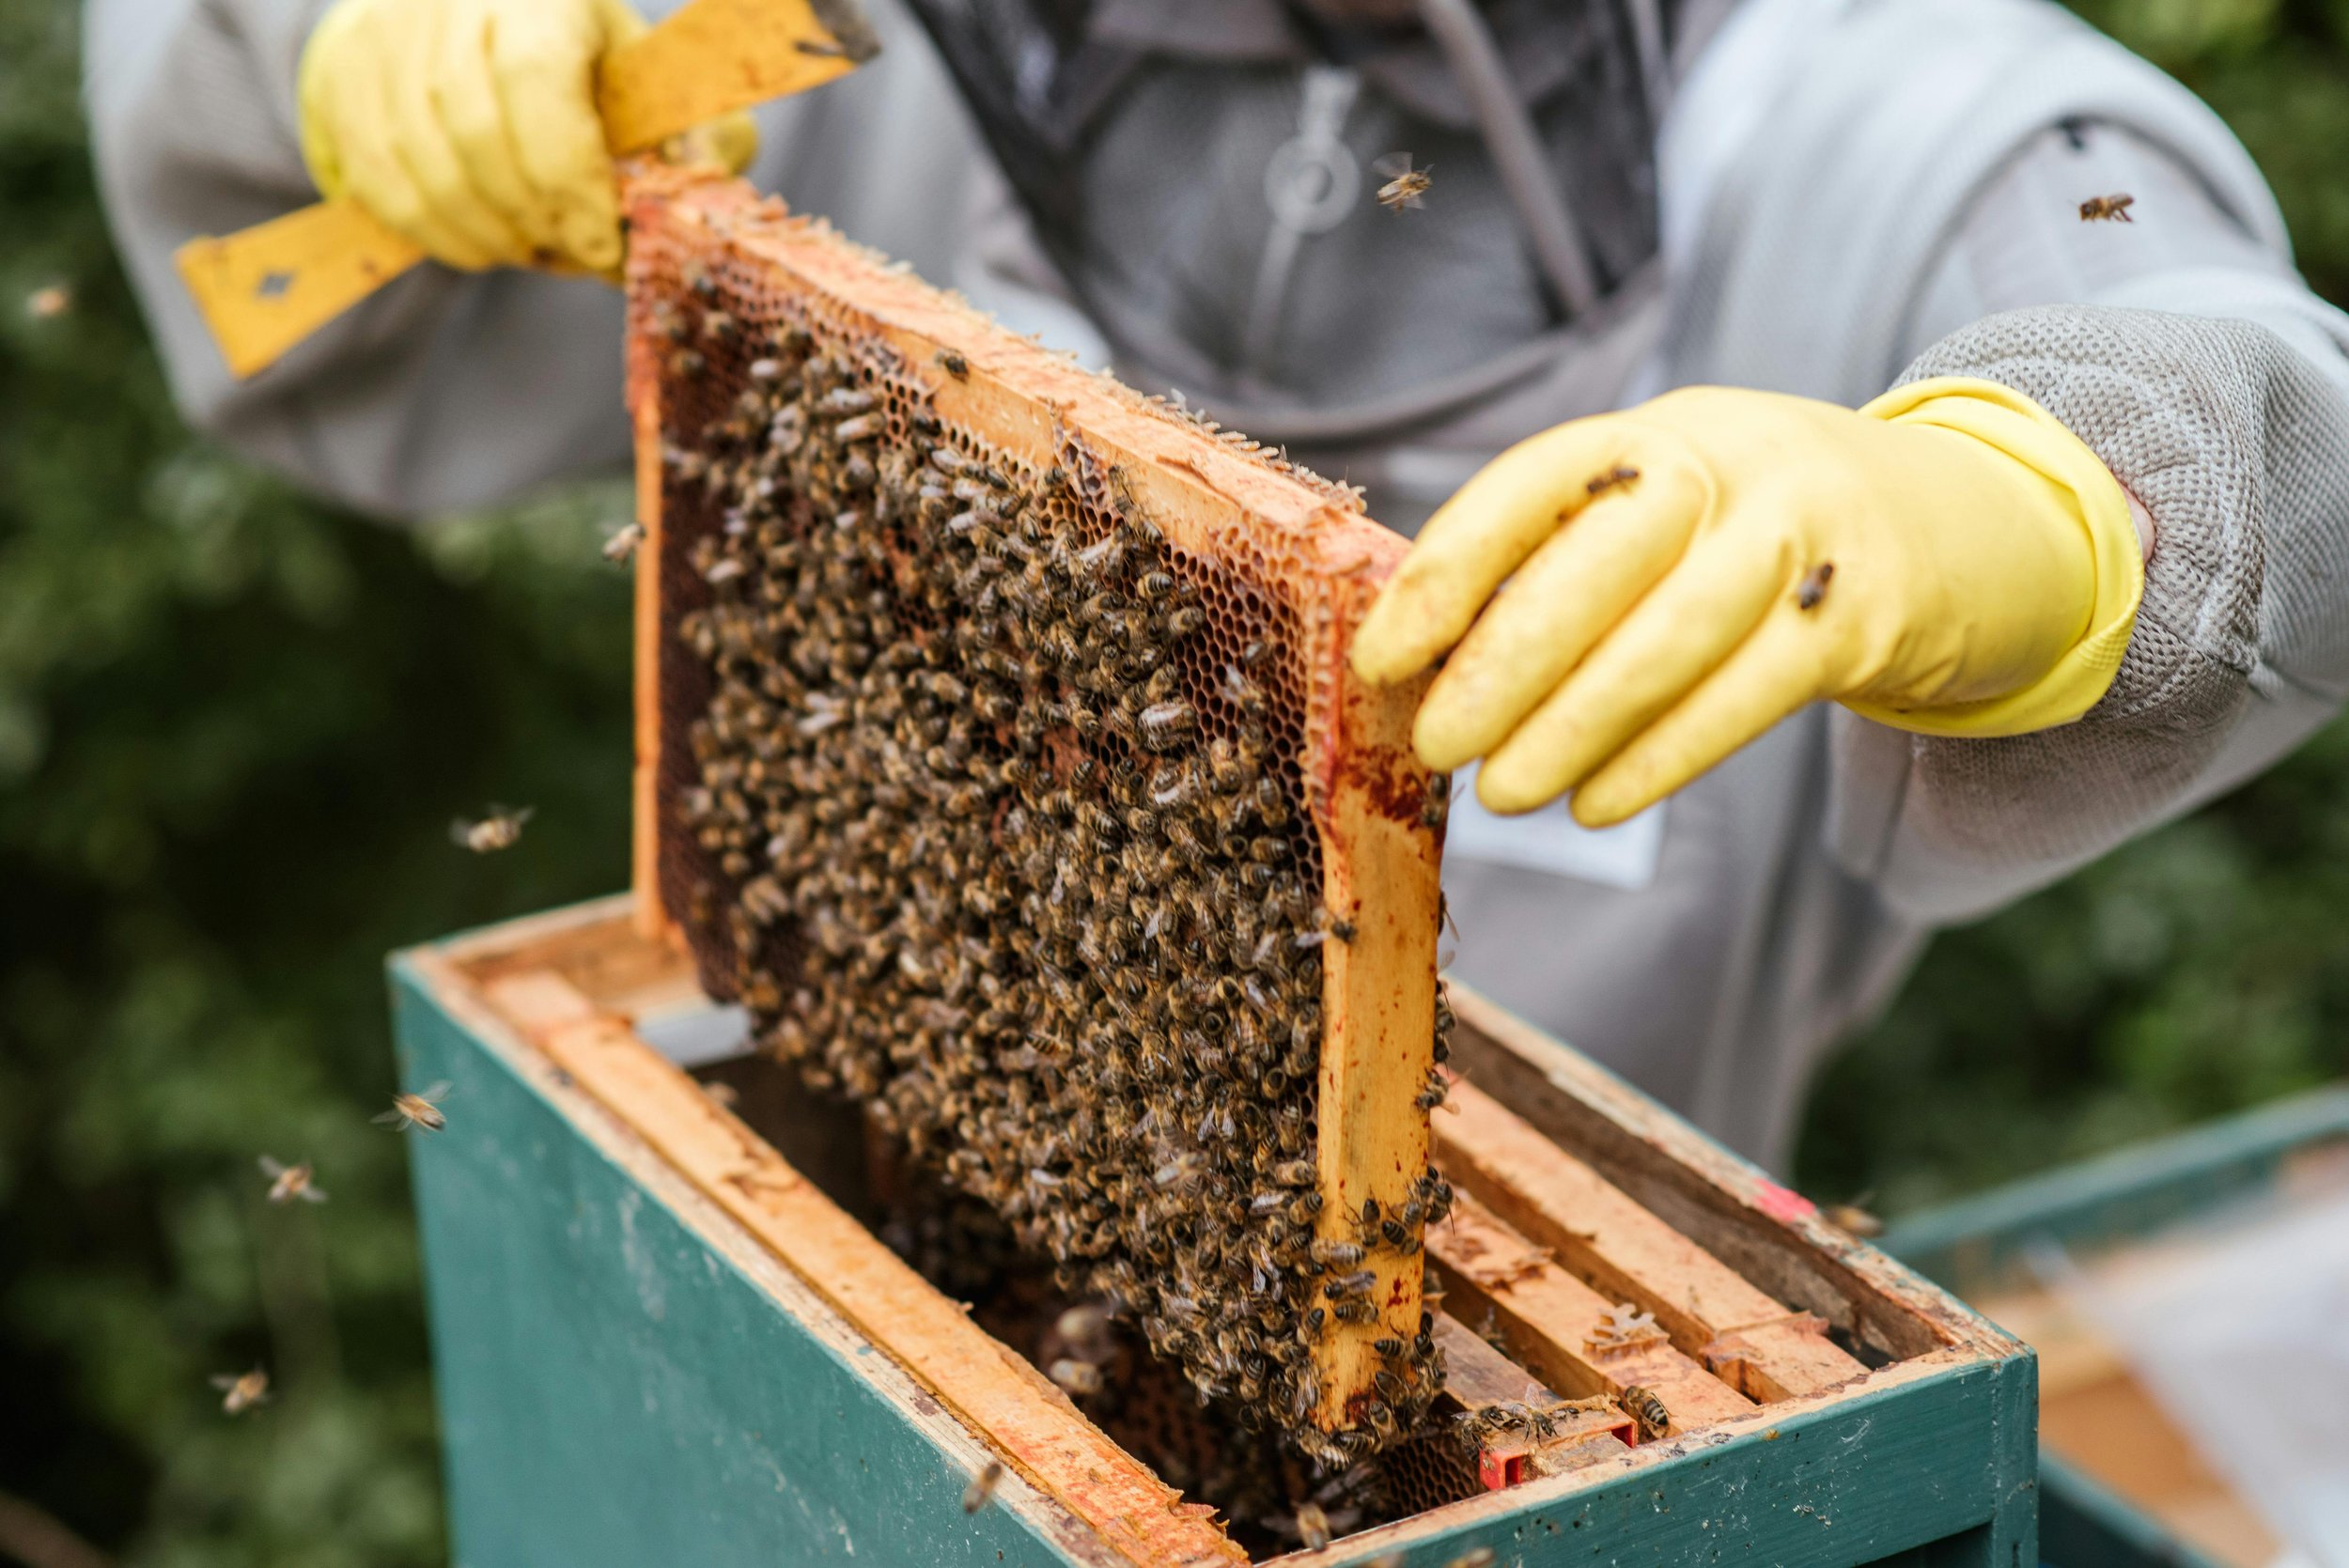
4. The First Days – Installing Your Colony
Those nerve-wracking first moments are completely normal, and every beekeeper remembers them. Evening installation works well when foragers have returned. Transfer gently from the nuc to your hive, working calmly. Then leave them alone for at least a week, resisting the urge to check constantly. Watch from outside instead, observing entrance activity and the amount of pollen being brought in.
V. Getting Your Bees
Now that you’re setup, the only thing missing is the real stars of the show: the bees! There are different methods:
1. Sourcing Bees in Norway
Local beekeeping associations should be your first point of contact when looking for bees. Norwegian bee breeders offer locally adapted stock, and buying local ensures bees suited to your conditions. Nucleus colonies provide an established colony with a laying queen, brood, and food stores, while packages offer bees and a queen without drawn comb. Swarm catching can provide free bees if you are prepared and patient. Norway has import restrictions to protect bee health, so purchasing from within the country is essential. Norges Birøkterlag offers excellent resources and connections to local beekeepers.
2. Choosing Hardy Stock for Mountain Conditions
Local, cold-adapted bees are crucial for survival in harsh climates. The Nordic black bee has evolved over thousands of years in Scandinavian conditions, while Buckfast bees are popular in Norway for their good cold tolerance and gentle temperament. Avoid bees bred for milder climates, as they may struggle with long winters. When purchasing, ask about wintering success rates and look for stock with genetics adapted to local conditions.
3. When to Start Beekeeping – Best Timing for Cold Climates
The window for starting new colonies in mountain areas is narrow, typically late May to early June. Bees need sufficient time to build up their population and food stores before winter arrives. Starting too late means feeding heavily through autumn. Patience pays off; it is better to wait a year and start properly than to rush and lose your investment.
4. Starting Small – How Many Hives?
One hive alone is risky because you have nothing for comparison and no resources to share between colonies. Two hives represents the sensible minimum for beginners. Three hives provides additional security against losses. Starting with ten hives is far too many for a first year. Grow gradually as your skills develop, remembering that quality of care matters more than quantity.
VI. Seasonal Beekeeping in a Cold Climate
Beekeeping is a bit like gardening—it very much depends on the weather and the seasons. You need to plan a bit ahead, and there are tasks to do at certain times:
1. Spring – The Critical Awakening (April-May)
The first warm days bring activity at the hive entrance, and watching bees emerge after months of winter brings tremendous relief. Wait for consistently warmer weather before doing your first inspection, as opening the hive too early chills the brood. Check food stores and feed sugar syrup if low. Look for signs of a healthy queen: eggs standing in cells, larvae in various stages, and a solid brood pattern. The emotional relief of seeing them alive after winter never fades.
2. Summer – The Productive Months (June-August)
The main nectar flow in mountain areas is brief but intense, and healthy colonies work furiously to gather stores. Add boxes by nadiring in Warré hives, giving the colony room to expand downward. Watch for swarm signs during this period. Weekly checks during peak swarm season help you stay ahead of problems. Garden and bees support each other through these months. By midsummer, even as activity peaks, thoughts turn toward preparing for autumn.
3. Autumn – Preparing for the Long Winter (September-October)
Harvest ethically, always leaving enough honey for the bees to survive winter. Weigh hives to check stores, aiming for at least fifteen to twenty kilograms of reserves. If stores are short, feed heavy syrup mixed at a two-to-one ratio of sugar to water. Varroa treatment timing is critical in autumn. Install mouse guards and entrance reducers before the first frosts. Add insulation if your climate demands it. Processing honey and wax alongside other autumn preserving tasks makes efficient use of these busy weeks.
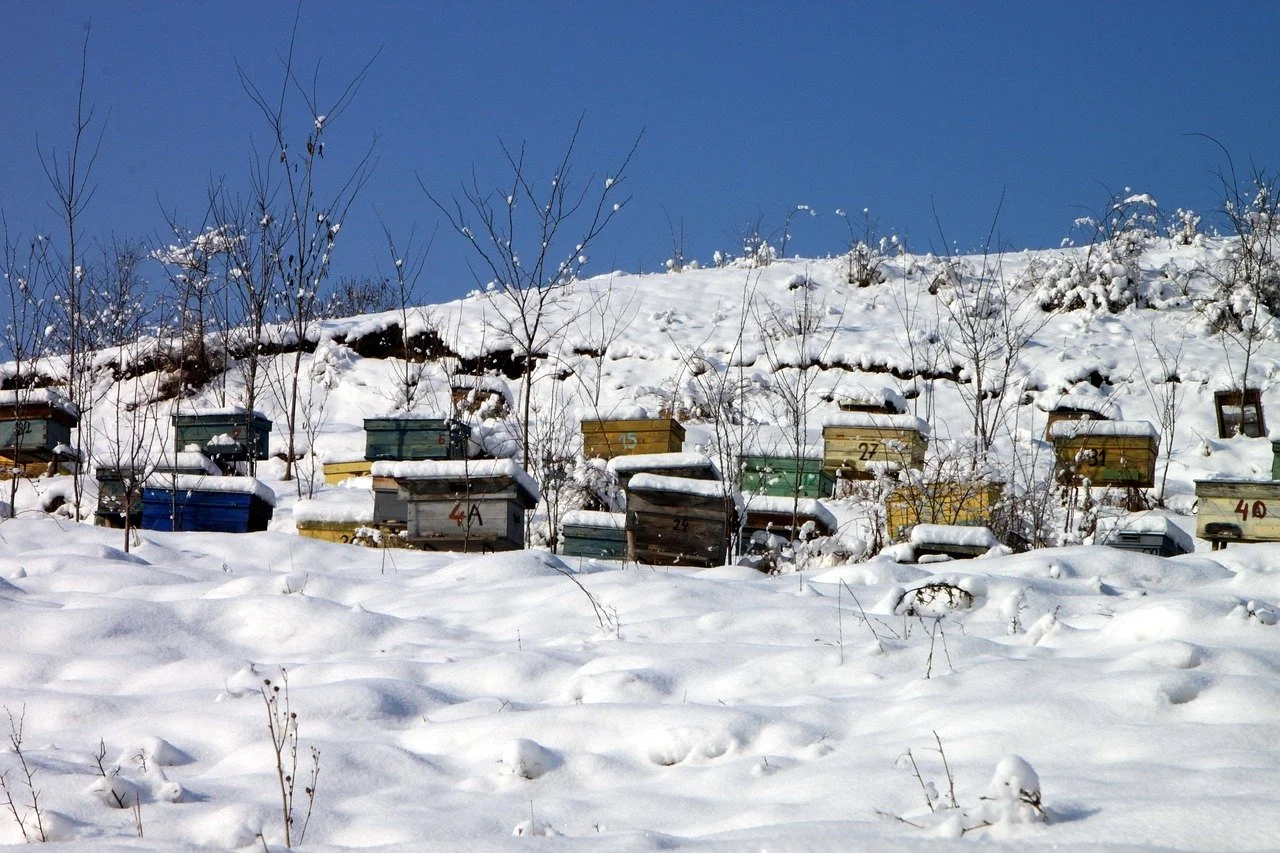
4. Winter – The Quiet Months (November-March)
Winter beekeeping is mostly hands-off as bees cluster together and survive on stored honey. Monitor without disturbing by hefting the hive to estimate weight. Clear snow from entrances after heavy falls. These quiet months offer time for making beeswax products and candles, planning improvements, and preparing equipment for spring. The long wait for first spring flights tests patience but makes that moment of emergence all the sweeter.
VII. Common Challenges and How to Handle Them
Beekeeping is unfortunately not only golden honey and cute bees with yellow/orange trousers. There are several dangers, you need to consider and trying to avoid to keep your bees happy and healthy.
1. Varroa Mites
Every colony has varroa mites, and understanding this threat is essential for modern beekeeping. Monitor regularly using methods like sugar shake tests or counting natural mite fall on sticky boards. Treatments compatible with natural beekeeping include organic acids such as oxalic acid and formic acid. Time treatments for maximum effectiveness when brood levels are low. For beginners, not treating is simply not realistic if you want colonies to survive.
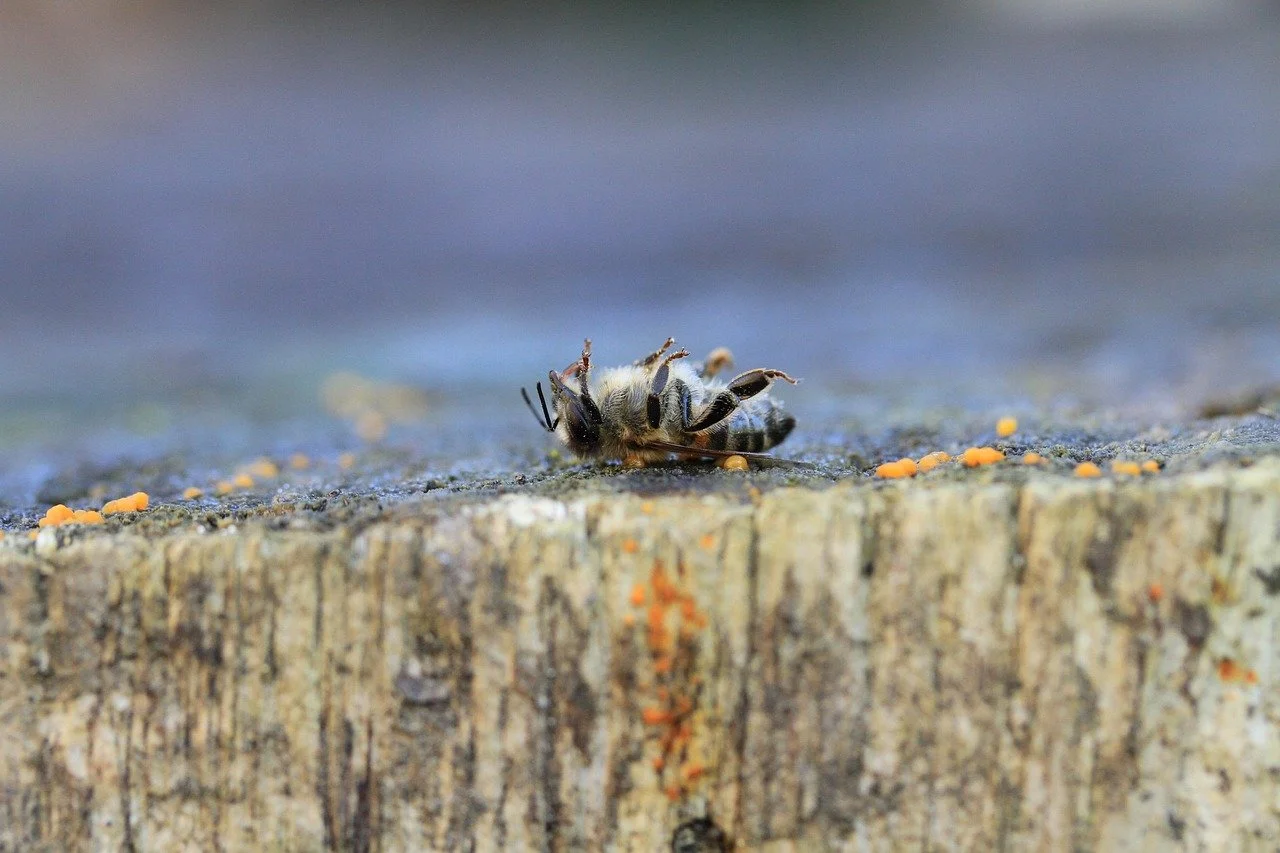
2. Winter Losses
Losses happen for many reasons: starvation, disease, queen failure, or varroa damage. Minimise risk by going into winter with strong colonies, ensuring adequate food stores, and treating for mites. The emotional impact of losing a colony is real, but recovery is possible through splits from surviving hives or purchasing new bees. Even experienced beekeepers lose colonies.
3. Swarming
Bees swarm as their natural method of reproduction, and a colony strong enough to swarm is actually a sign of health. Prevention involves giving adequate space during buildup periods. If you catch swarms, you gain free bees for expanding your apiary. Try to see swarming as success rather than failure, even though it may reduce your honey harvest.
4. Predators and Pests
Mice become a winter menace, seeking warm shelter, but mouse guards installed in autumn prevent their entry. Woodpeckers can damage hives during harsh winters. Wasps attempt robbing in late summer, though strong colonies can usually defend themselves. Strong, healthy colonies remain the best defence against most predators and pests.
VIII. Harvesting Honey with Respect
Even though you of course want to harvest as much honey as possible, never forget the bees. Happy bees means more honey!
1. How Much Honey Can You Take?
The ethics of harvest matter particularly in short-season climates where bees have limited time to rebuild stores. Leave at least fifteen to twenty kilograms for winter. When in doubt, take less. In the first year, you may harvest nothing at all, and that is perfectly acceptable as your bees establish themselves. Building trust through ethical harvest creates stronger colonies over time.
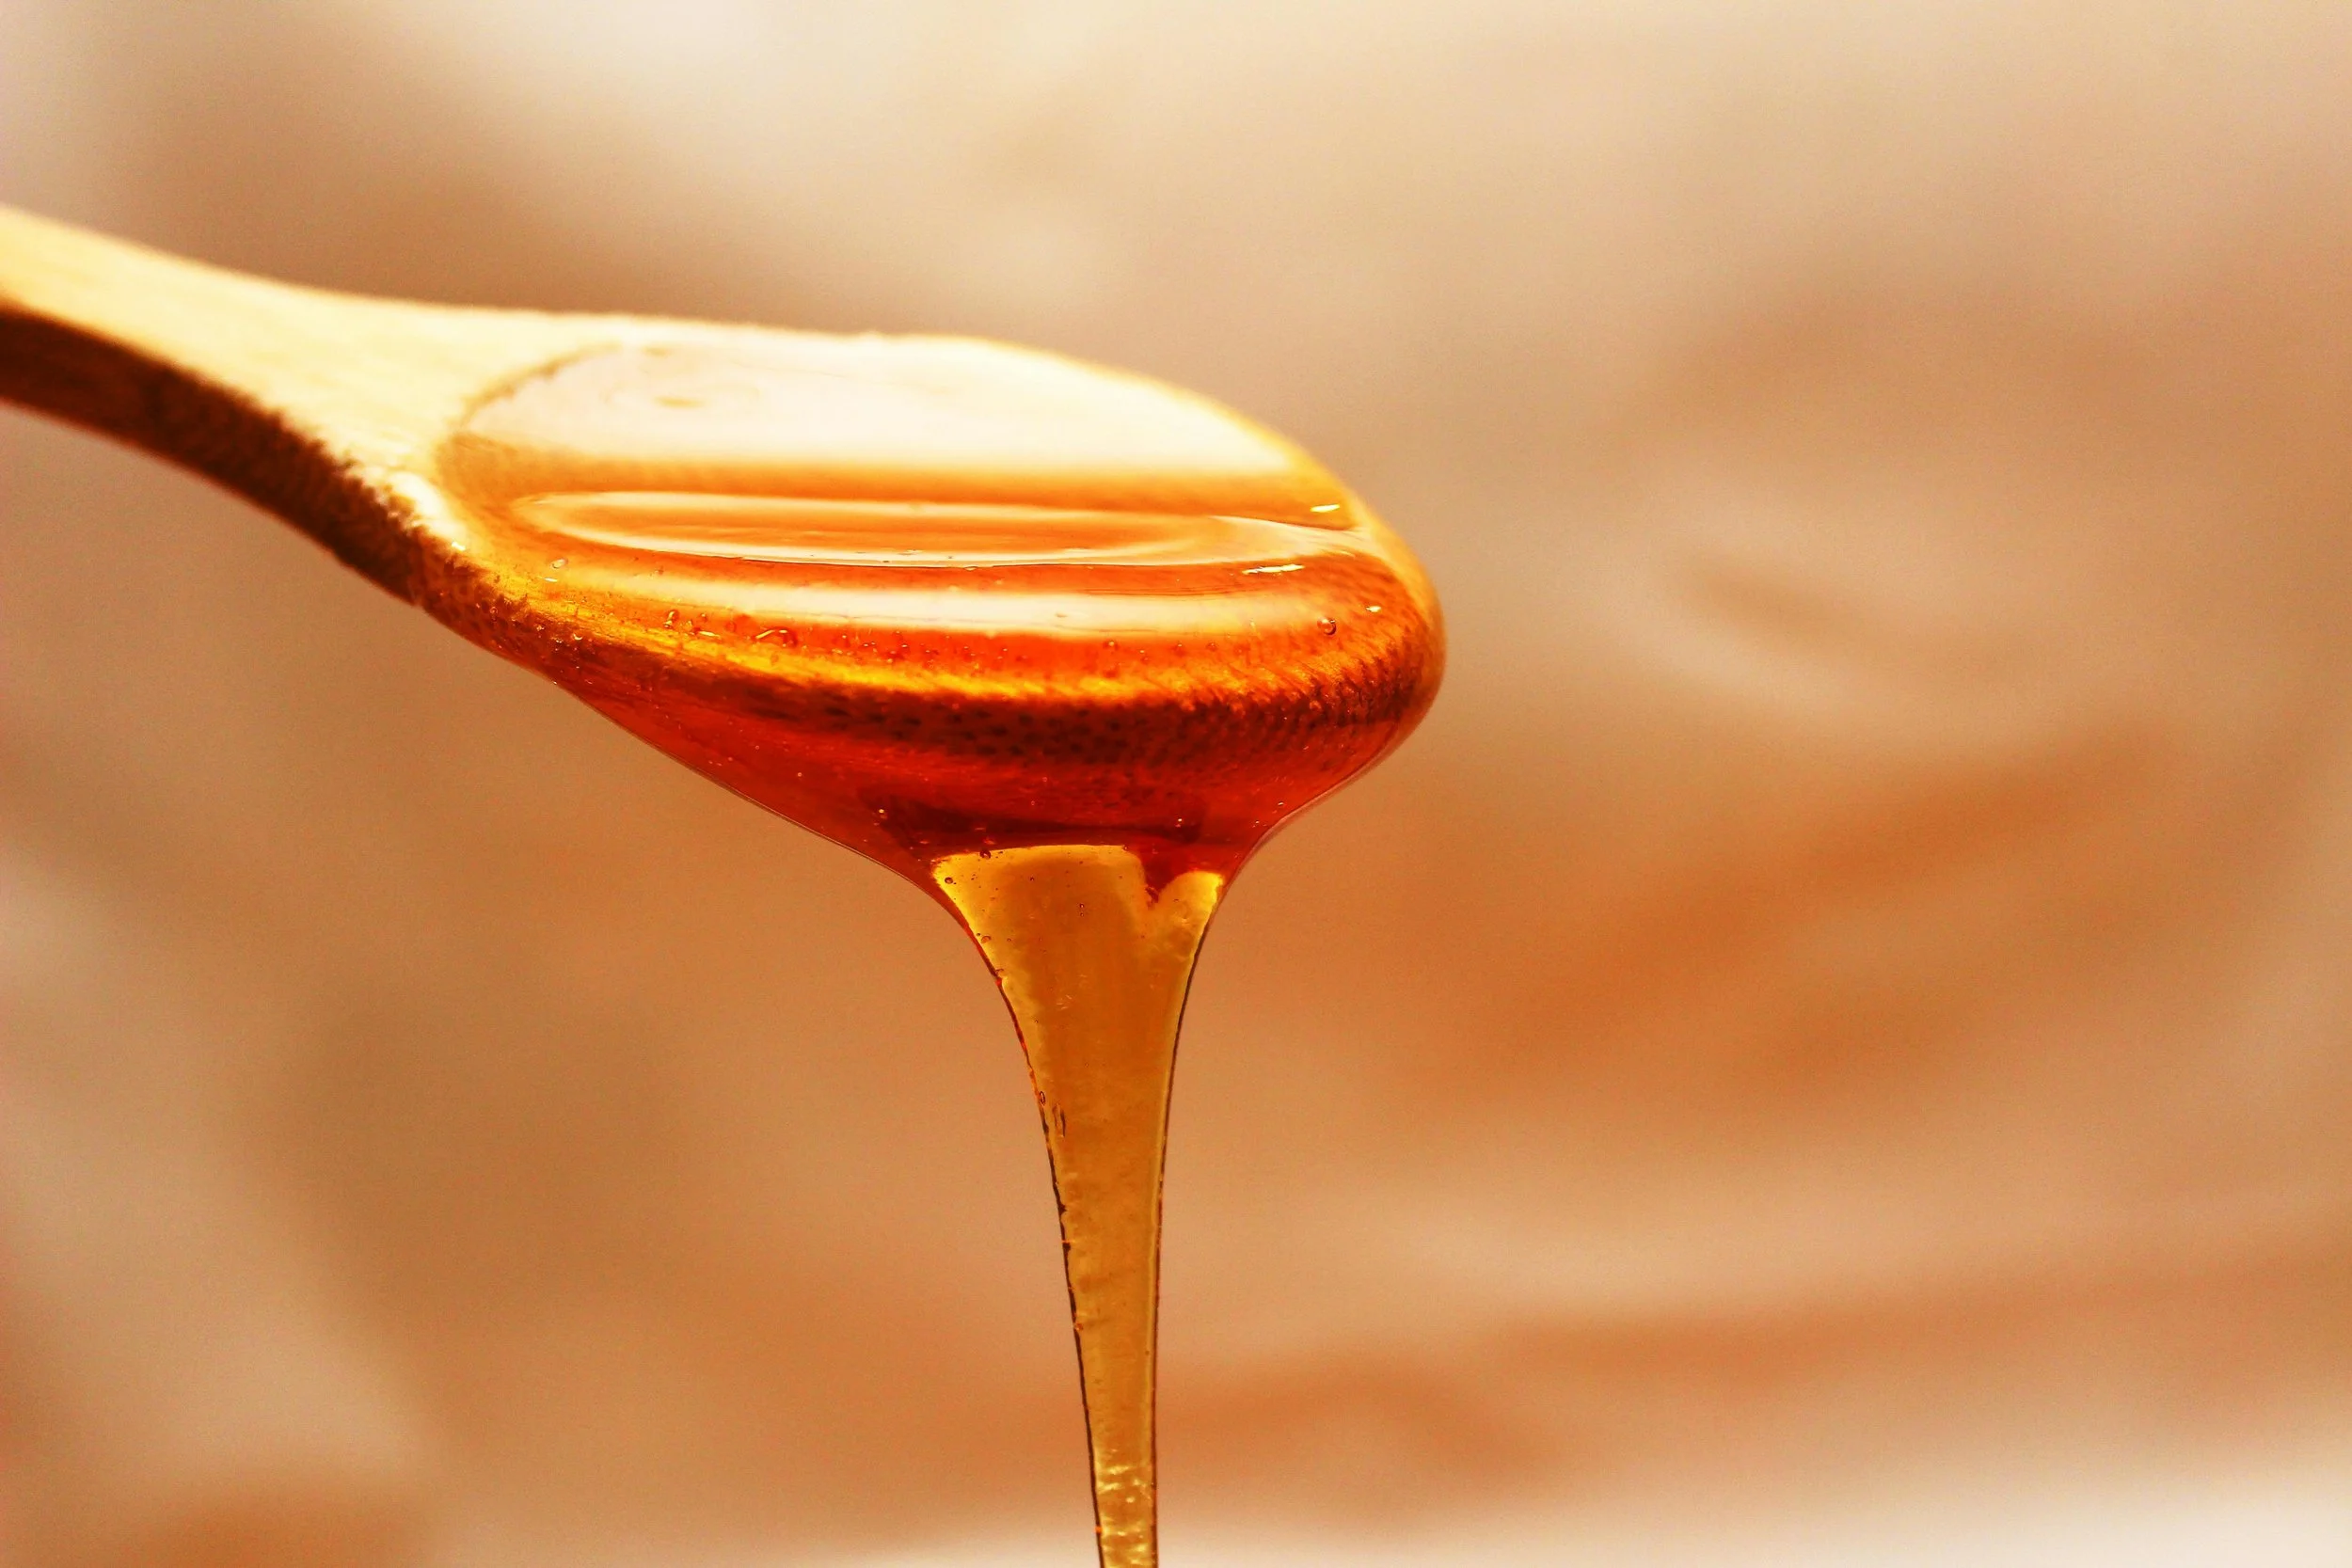
2. Simple Honey Extraction Methods
The crush and strain method works perfectly for Warré hives and small-scale homestead beekeeping. No expensive extractor is needed. Cut comb from frames or bars, crush thoroughly, and let gravity pull the honey through fine mesh into food-grade buckets. The process takes time but offers meditative satisfaction and deep connection to the harvest.
3. Processing and Storing Your Honey
From bucket to jar requires patience for settling and removing air bubbles. Use clean, sterilised jars. Store honey in a cool, dark, dry place where it keeps indefinitely. Crystallisation is natural and not a problem; warm gently to reliquefy if preferred. Label jars clearly for both home use and potential future sales.
4. Beeswax and Propolis
The cappings from crush and strain processing are pure, high-quality wax. A solar melter built from an old window costs nothing and works efficiently. Propolis scraped from hive edges makes valuable tinctures; freeze it first for easier collection. Simple tinctures made by soaking propolis in high-proof alcohol extract beneficial compounds for immune support and wound healing.
IX. How to Use Your Bee Products at Home
Of course, there’s honey. But that’s not everything—and that’s the beauty of beekeeping.
1. Honey in the Homestead Kitchen
Your own honey can replace shop-bought sweeteners entirely across all your cooking and baking. When substituting in recipes, reduce other liquids slightly. Honey works beautifully in preserving, adding depth to jams and ferments. It makes traditional mead, glazes, marinades, and dressings. Raw, local honey soothes sore throats and has traditional uses in wound care.
2. Beeswax for Household Use
Dipped or poured candles fill rooms with warm honey scent and burn longer than paraffin alternatives. Beeswax wraps made with tree resin and jojoba oil replace plastic wrap in your kitchen; cotton fabric scraps work perfectly. Mixed with oil, beeswax creates polish for wooden furniture and waterproofs leather boots and work gloves. Wax-soaked pinecones or cardboard scraps make excellent fire starters.
3. Homemade Remedies and Skincare
Combining garden-grown calendula with beeswax and honey creates healing salve for cuts, scrapes, and dry skin. Simple lip balms and hand creams require only beeswax, oil, and butter, replacing expensive shop-bought products. Propolis tincture provides immune support during cold season. Start with one basic recipe and build skills from there. Find out here how to make calendula oil and calendula salve.
4. Gifts from the Hive
Homemade presents cost little but carry tremendous meaning. Honey jars with handwritten labels, beeswax candle sets, lip balm tins, and beeswax wraps make thoughtful gifts that connect others to your homestead and the work that goes into it.
X. Selling Your Bee Products – Building Additional Income
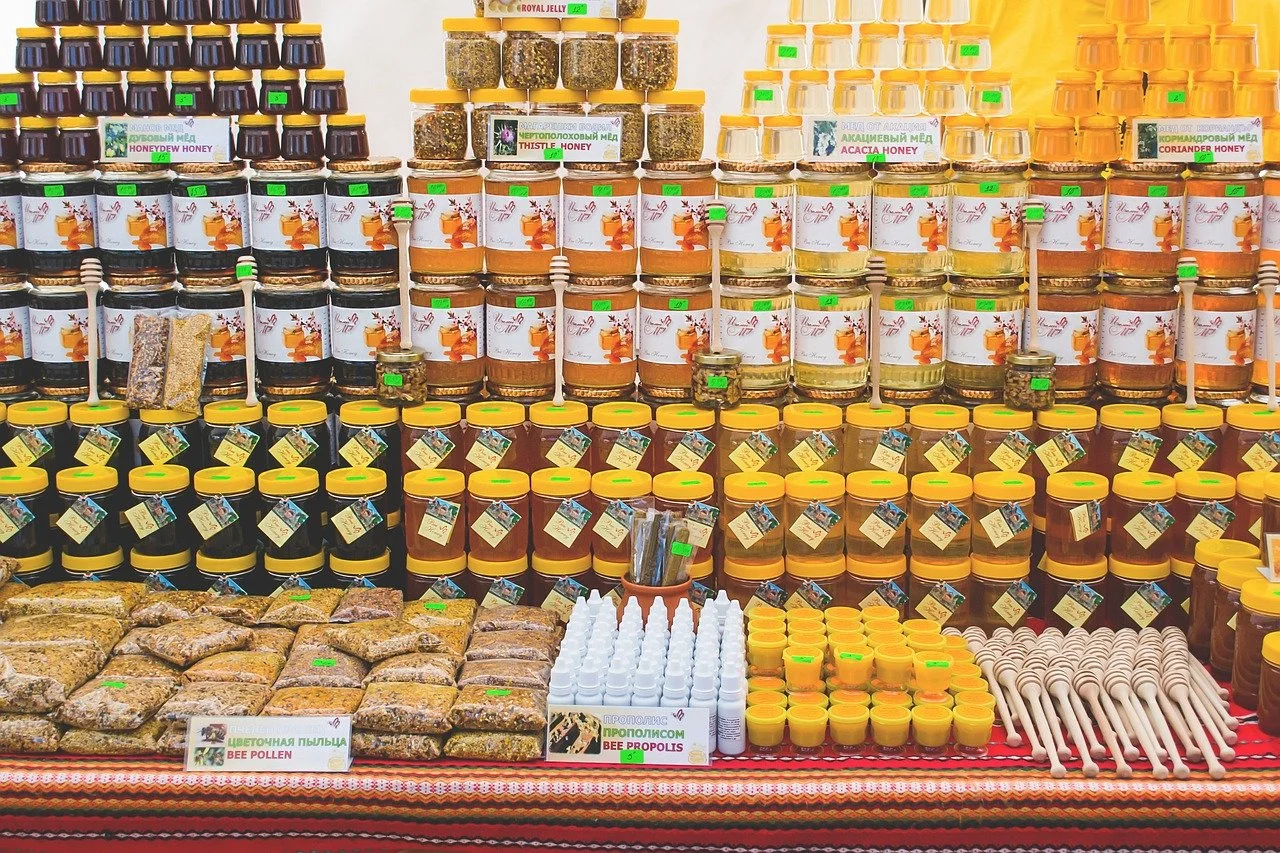
After a few years, you usually will have too much honey for you, your family and friends. And because honey is one of the most altered foods in Europe (not in a good way!), people love buying local. This can be a serious income!
1. What You Can Realistically Sell
Raw honey in jars remains the most straightforward product. Chunk honey or comb honey commands premium prices. Beeswax candles and blocks appeal to those seeking natural alternatives. Beeswax wraps and skincare products offer higher margins. Understand your local market demand and start with what people actually want to buy.
2. Norwegian Regulations
Register with Mattilsynet for food sales. Labels need weight, origin, and contact information. Products containing bee ingredients need allergen warnings. Small-scale exemptions may apply. Keep records of production and sales.
3. Pricing Your Products Fairly
Calculate actual costs including jars, labels, and your time. Value your labour appropriately and avoid undercutting yourself. Local honey differs significantly from cheap imports. Research what similar products sell for in your area. Value-added products justify higher prices than raw materials alone.
4. Finding Your Customers
Neighbours and word of mouth provide easy first sales. Local markets and farm shops offer access to customers seeking local products. Community Facebook groups and REKO rings connect producers directly with buyers. Small-scale selling means personal relationships matter most.
5. Realistic Income Expectations
First year typically produces no surplus to sell. Years two and three see meaningful returns. Breaking even usually takes two to four years. This is supplemental income rather than primary income. The non-monetary value through pollination, self-sufficiency, and personal satisfaction often outweighs financial returns.
Wrapping Up
Bees become part of the living, interconnected homestead in ways that few other elements can match. There is deep satisfaction in products made entirely from your own land, from the honey in your tea to the candles on your table to the salve on your hands after a day of garden work. Beekeeping teaches patience, observation, and respect for natural systems.
You do not need to be an expert to begin. Start with research, connect with local beekeepers through your regional association, and prepare your site thoughtfully. The learning never ends, and that is part of what makes beekeeping rewarding season after season. Perhaps this is the year you bring bees to your homestead.
Frequently Asked Questions
How much does it cost to start beekeeping?
Budget approximately $500 for a basic setup including one hive, protective gear, essential tools, and bees. Building your own hive and purchasing secondhand equipment can reduce costs significantly.
How much time does beekeeping take?
Time commitment varies seasonally. Winter requires minimal attention beyond occasional checks. During the active season, expect thirty minutes to one hour per hive per week. Warré hives require less frequent intervention than Langstroth systems.
Can I keep bees if I'm allergic to stings?
Consult your doctor if you have known severe allergies. Mild reactions are normal and often decrease with repeated exposure. Good protective gear minimises stings effectively.
Do I need permission to keep bees?
Regulations vary by country and region. In Norway, check local kommune requirements. Regardless of legal requirements, informing neighbours is courteous and helps maintain good relationships.
How much honey can I expect from one hive?
Yields vary widely from zero to thirty kilograms depending on conditions. First-year hives may produce nothing as bees establish themselves. An established hive in good conditions typically yields ten to twenty kilograms surplus.
What's the best hive type for a complete beginner?
Langstroth hives offer the most resources and support available. Warré hives provide simpler management but may have fewer local mentors. Choose based on your philosophy and available support in your area.
Can beekeeping contribute to homestead income?
Expect modest but meaningful supplemental income after two to three years. Value-added products increase returns. The main value for many homesteaders lies in pollination benefits and self-sufficiency.
How do I find local beekeeping mentors?
Norges Birøkterlag operates local chapters throughout Norway that offer courses and mentorship. Beginner courses typically run in spring. Local agricultural shops often know beekeepers willing to mentor.
What is the best hive type for colder climates?
The Warré hive is often considered excellent for cold climates due to its built-in quilt box for insulation and moisture control. Well-insulated Langstroth hives also perform adequately. Consult beekeepers in your specific region for local advice.